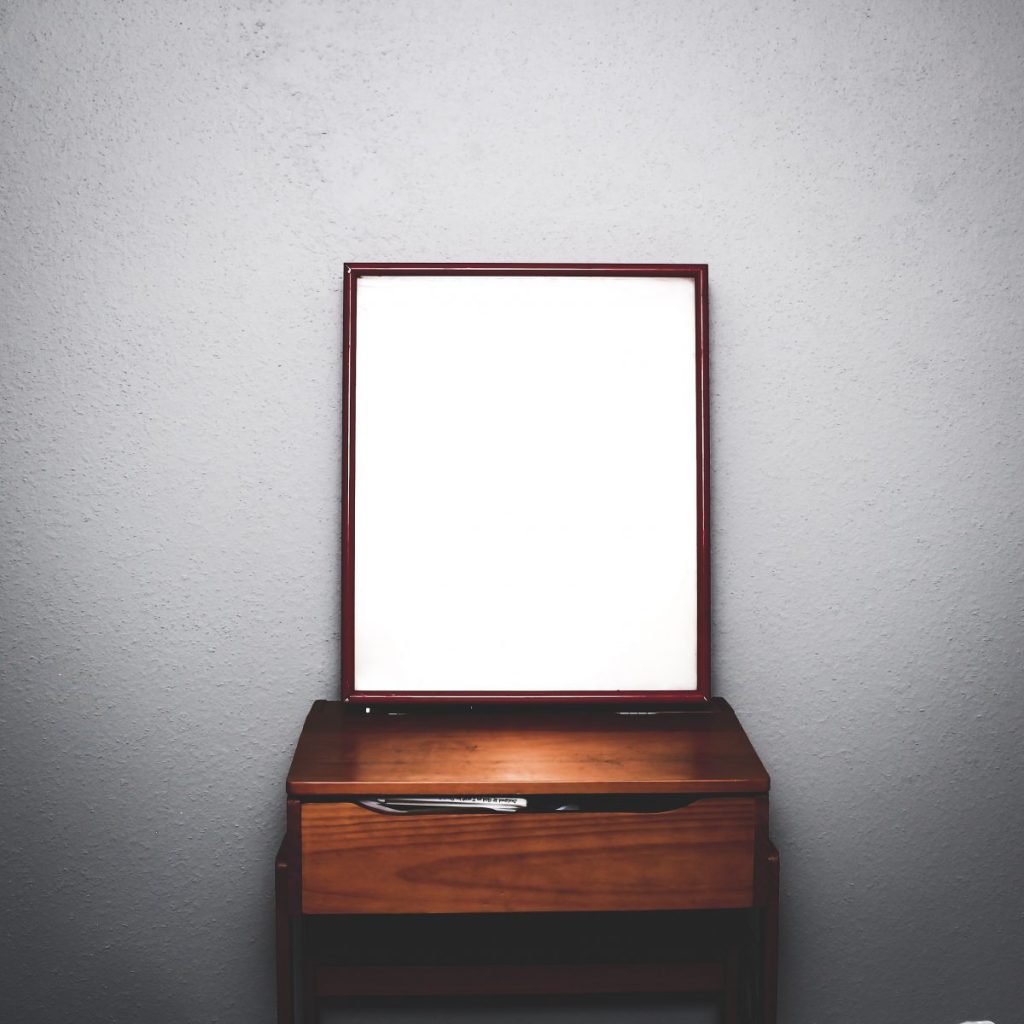
In the 1937 Disney classic ‘Snow White and the Seven Dwarfs’ the mystical Magic Mirror just tells you ‚who is the prettiest of them all‘, but your own smart mirror will tell you even more: the weather, date, time, calendar appointments, stocks and more.
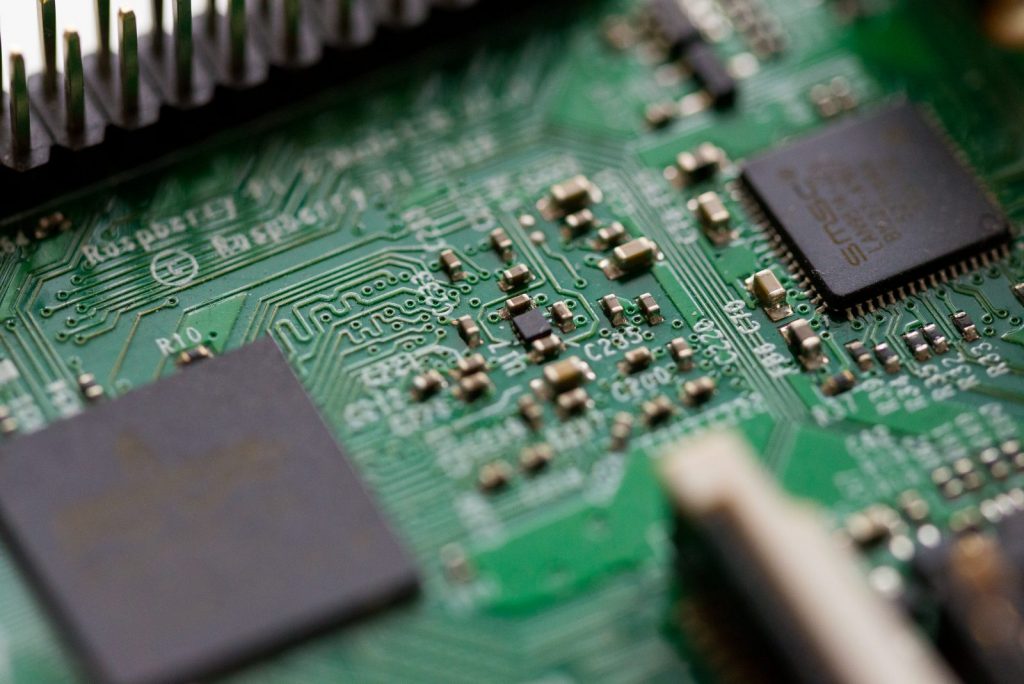
In fact, you can set up your very own smart mirror in only few steps: all you need is a Raspberry Pi and some DIY-supplies!
Did you know? The low coast Raspberry Pi is a credit-card sized single-
I was suprised how easy it is to build a smart mirror. Here is a guide how to build one yourself. Let’s get sarted!
Make sure you get these following supplies:
- A Raspberry Pi 3 (or an older Raspberry Pi with a Wi-Fi Adapter, like as Rasperry Pi 2).
- A LCD monitor / screen with HDMI-in. This monitor will be the main screen for your smart mirror, so be aware whatever size you choose is how big your mirror will ultimately be. Make sure it comes with a USB plug-in (so you won’t need a second plug for the Raspberry Pi anymore).
- A two-way glass mirror in good quality. I would recommend to get a mirror that has the same size as your monitor. Here is the one I bought on Amazon: get it here. Here you can get it in different heights, widths and edges.
- A wooden frame to hold together the mirror and the monitor behind it.
- A Keyboard and mouse, which you’ll need to get things set up on the mini-computer.
- Tools
Installation Guide:
- Basic set-up: First, you need to set up your Raspberry Pi. Here on GitHub you will find a great documentation and help to do so.
- Installation (15-20 minutes): you can either install MagicMirror² (great smart mirror Project/documentation by Michael Teeuw) or run this line of code on your Raspberry Pi:
bash -c “$(curl -sL https://raw.githubusercontent.com/MichMich/MagicMirror/master/installers/raspberry.sh)”
Located on the project’s GitHub website, there is also a manual installation guide (if you prefer it to do it that way).
- Configuring your Rasperry Pi (e.g. disabling screensaver or WiF Power Save): follow the instructions here
- Make sure you have good Wifi Connection and shut off your power-saving mode
- Customize your smart mirror: Choose between following components: calendar, weather, news, clock, alarm/alert, etc. For some modules you may need some additional set-up, like Location/GPS tracking.
- On GitHub’s documentation website (great page built for develepers recently bought by Microsoft), you can find more 3rd Party modules to add (e.g. crypto-portfolio, Google Maps, Alexa, etc.)